MYOB Integration
Microkeeper payroll data can be exported to MYOB in just a few steps.
This guide explains how to set up Microkeeper to export Transaction Journals for MYOB AccountRight or MYOB Business.
This guide covers how to:
- Select MYOB as your accounting suite.
- Add or load your MYOB General Ledger account codes in Microkeeper.
- Map Microkeeper payslip items to the relevant GL accounts.
- Export a MYOB Transaction Journal file.
- Import the journal into MYOB.
Prerequisite: Configure your accounting suite to MYOB
Before exporting a Transaction Journal, select MYOB as your accounting suite in Microkeeper.
Navigate to Menu > Settings > General > Global > System Settings > Integrate Accounting Suite, then select MYOB.

Set up your GL accounts in Microkeeper
Add the General Ledger accounts from your MYOB chart of accounts to Microkeeper. You can configure these during the Export step of a pay run.
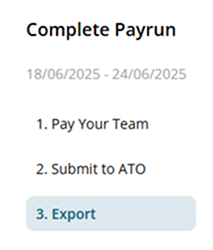
Navigate to Menu > Payroll > Payruns > Payslips > Complete Payrun > 3. Export.
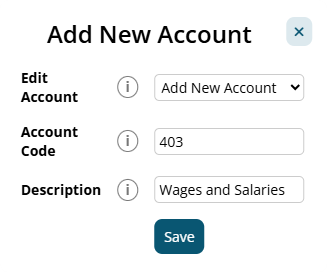
Click Accounts to open the Add New Account window.

When adding an account, enter:
- Edit Account: Select Add New Account.
- Account Code: Enter the GL account code from your MYOB chart of accounts.
- Description: Enter the name or description of the GL account.
Creating MYOB Jobs as Tracking Categories
MYOB uses their own form of tracking categories called MYOB Jobs to track the income and expenses related an area or undertaking in the business, like a project, department, division or location. These are created as Tracking Categories in Microkeeper.
- Click the Tracking Categories tab
- Click the Add Tracking Option button
- Enter the Tracking Category Name
- This must match the MYOB Job Number which is used as the unique identifier for the MYOB Job.
- Click Add Option to save
Configure your MYOB Transaction Journal
Before generating a MYOB Transaction Journal, map each Microkeeper payslip item to the relevant MYOB account code. These settings are saved for future journal exports.
Open the Accounting Export page by navigating to Menu > Payroll > Payruns > Payslips > Complete Payrun > 3. Export.
The left side of the table lists Microkeeper payslip items. On the right side, enter a description and select the MYOB account code for each item.
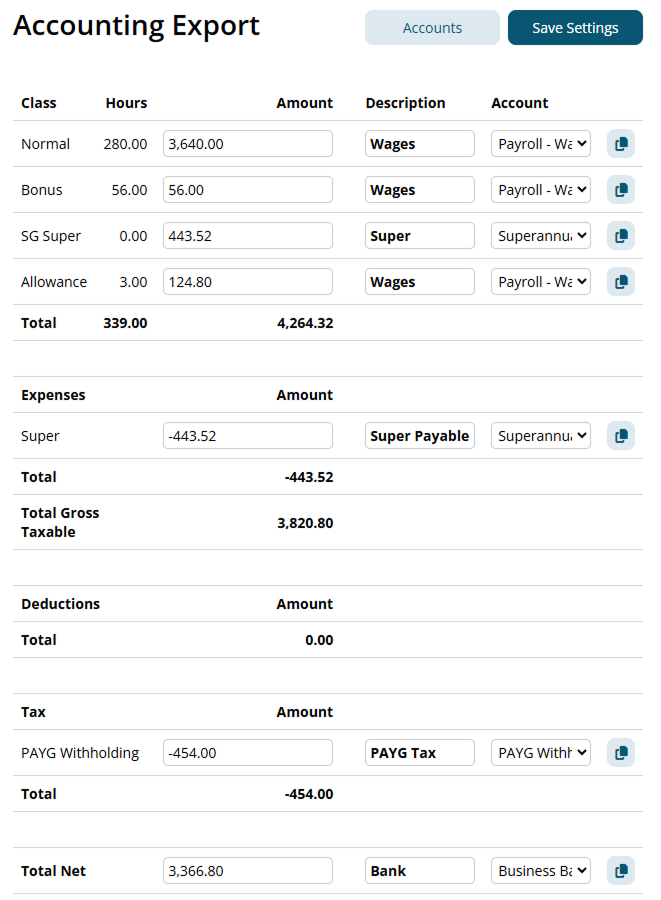
Click Save Settings when you are happy with the configuration.
Breakdown Invoice By options
The Breakdown By setting controls how the invoice is broken down by cost centre.
- Title: Break down the invoice by the payslip title of each payment item.
- Job: Break down the invoice by the Job assigned to the payment item.
- Class: Break down the invoice by the Class assigned to the payment item.
For a basic breakdown, Class or Title is recommended.
Quick Copy and Paste tool
Use the copy button on the right side of the account configuration to copy a Description and Account from one line to another.
Click the Copy button , then click the Paste button on the line where you want to apply the copied values.
Export and import the Transaction Journal into MYOB
1. Download the MYOB export file
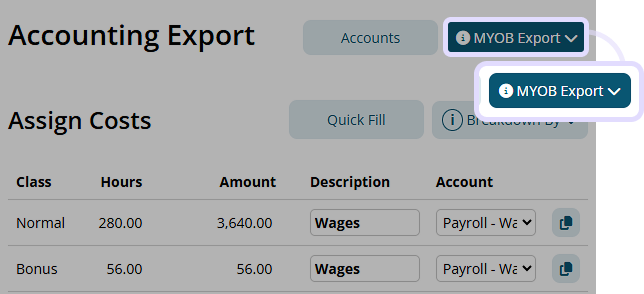
Click MYOB Export to download the MYOB Transaction Journal file.
There are two export formats available:
Legacy (v19 or earlier)
- Date
- Memo
- Allocation Memo
- Account Number
- Debit Amount
- Credit Amount
Current (2015+)
- Date
- Memo
- Allocation Memo
- Account Number
- Is Credit
- Amount
2. Import the file as a Transaction Journal in MYOB
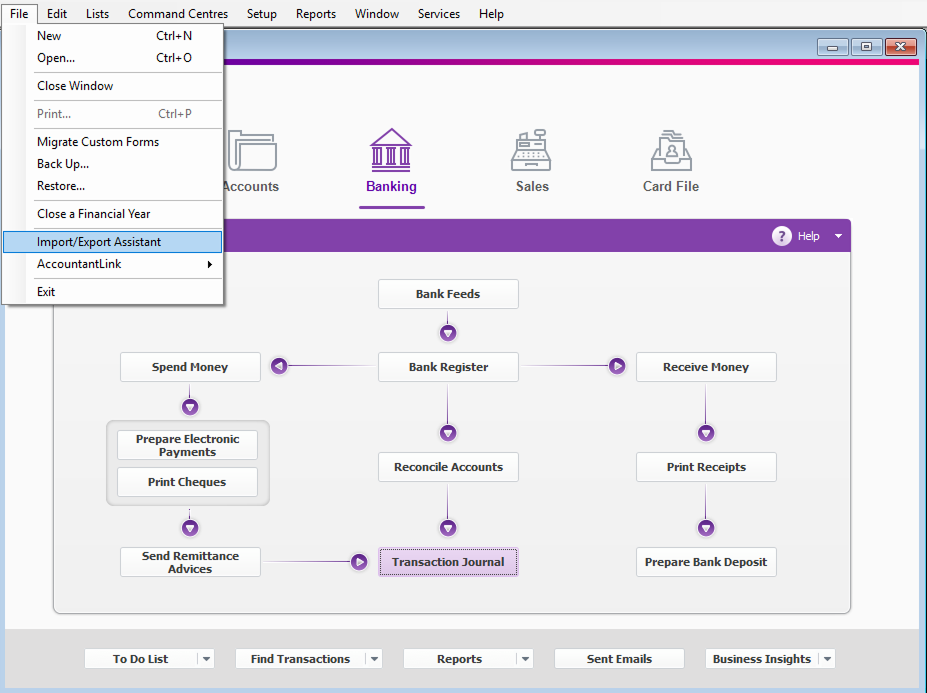
2.1. In MYOB, navigate to Files > Import/Export Assistant.
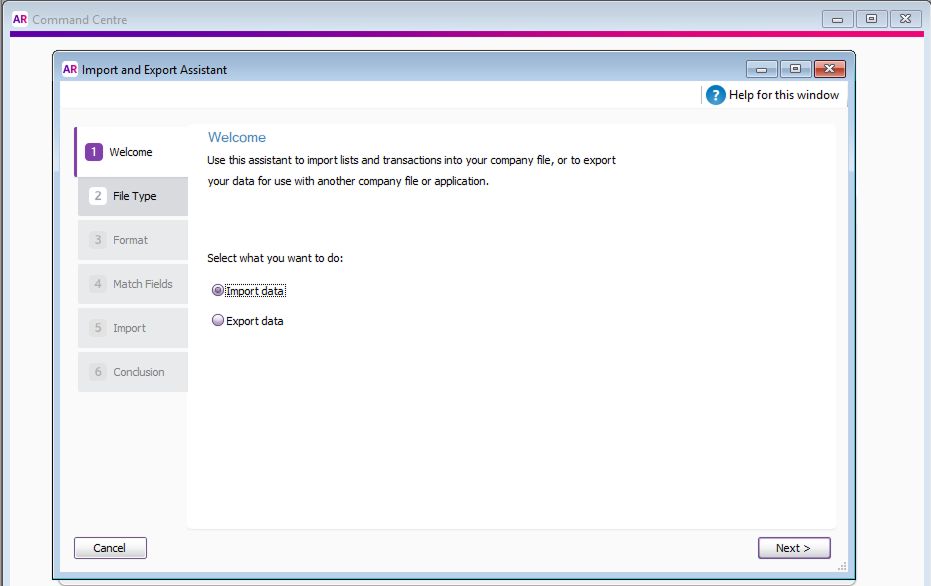
2.2. On the Welcome screen, select Import Data, then click Next.
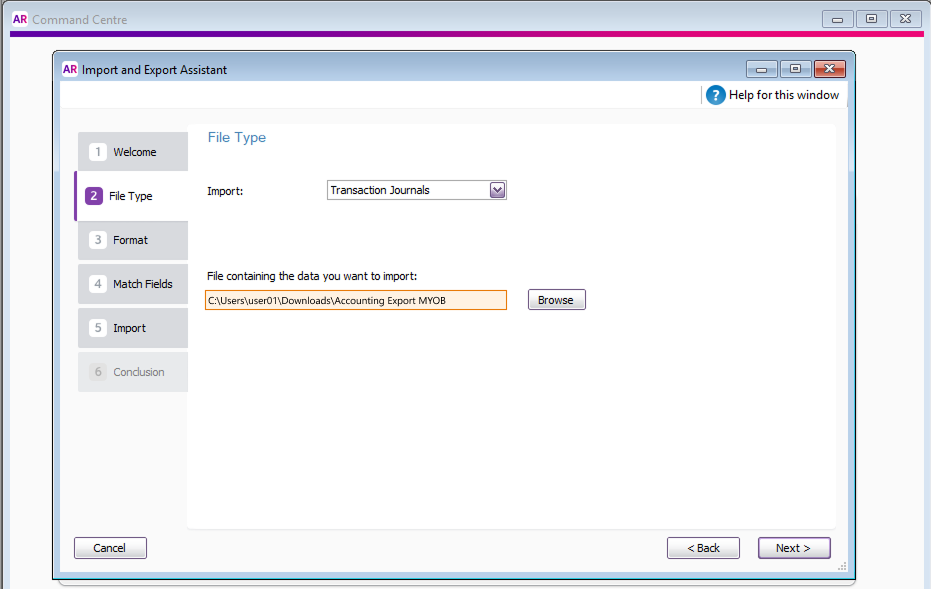
2.3. On the File Type screen:
- For Import, select Transaction Journal.
- Click Browse and select the Microkeeper export file.
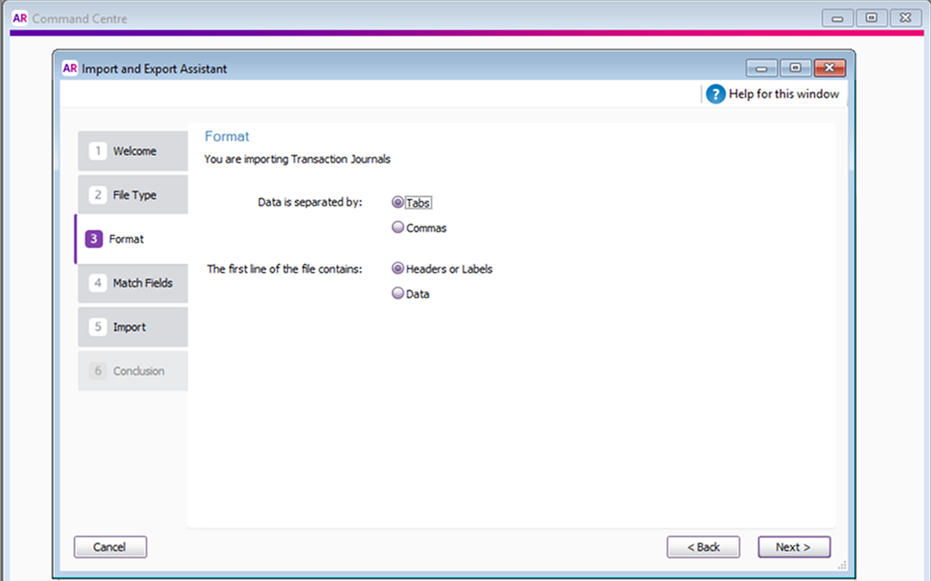
2.4. On the Format screen:
- Set Data is separated by to Tabs.
- Set The first line of the file contains to Headers or Labels.
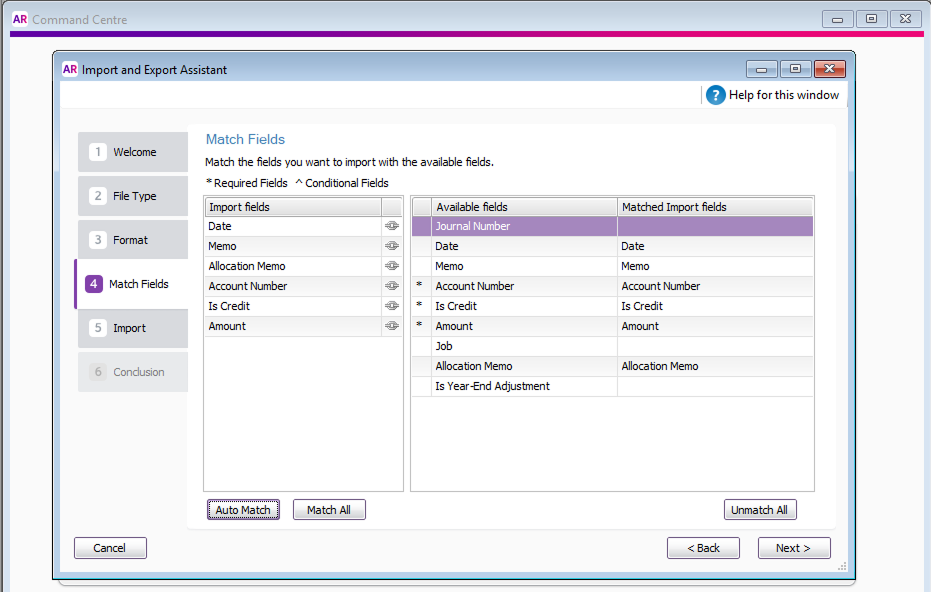
2.5. On the Match Fields screen, click Auto Match, then click Next.
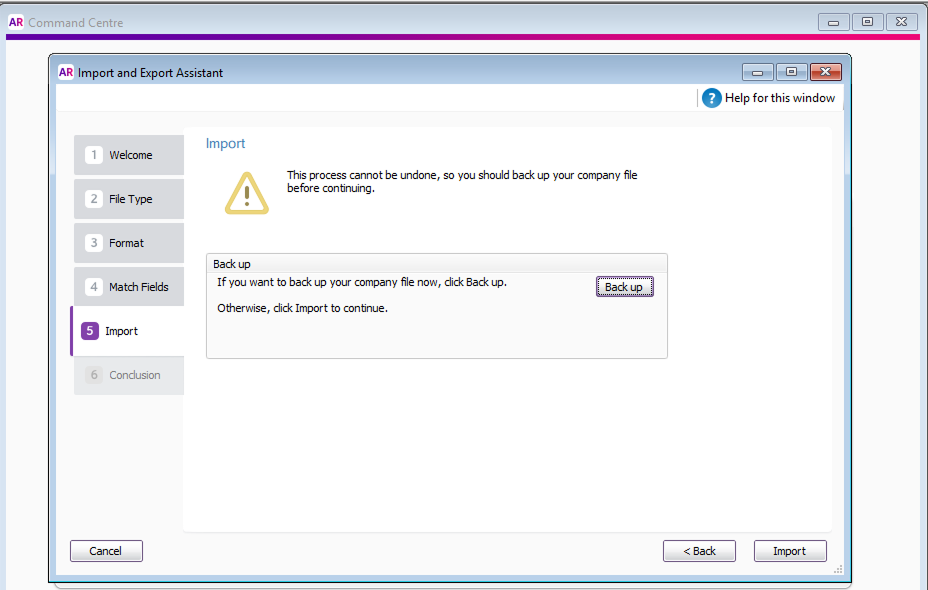
2.6. Confirm the import by clicking Import.
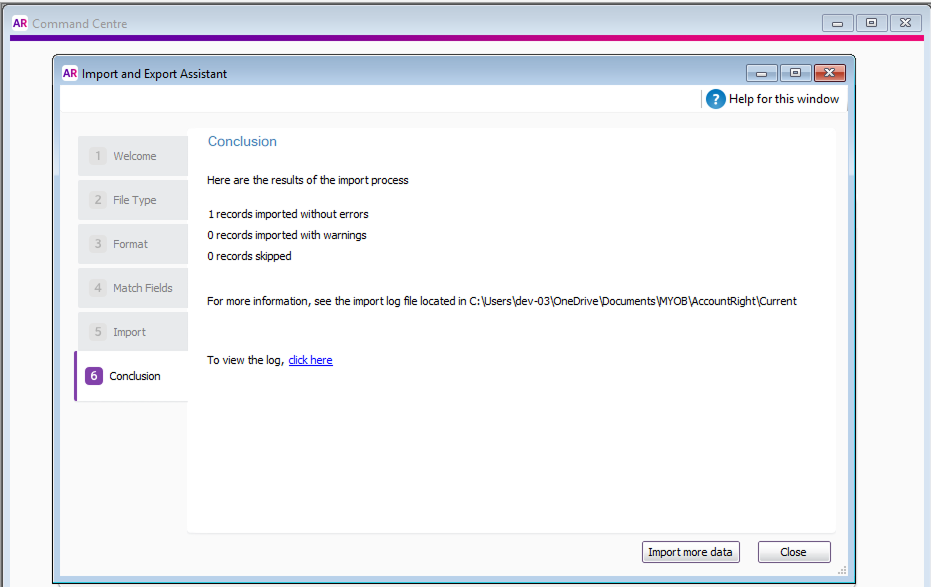
If the import is successful, the Conclusion window will display 1 records imported without errors. If an error is shown, review the error message and check the export file and account mappings.
Additional notes
We recommend working with your bookkeeper and contacting the Microkeeper team for help with the initial configuration.
Once configured, exporting and importing a Transaction Journal should only take a few minutes.
Please note: Each value name must be unique. When a new value name appears in future pay runs, add it to the appropriate account configuration before exporting.